Sal said he’d buy him a wallet, but I really wanted to something that would fit in his tiny little man pockets and I wasn’t sure how easy that would be find. I’m sure they exist, but I was also thinking it would be a super fun project for me to work on with the boys.
A quick Pinterest search yielded lots of great ideas, but nothing that was exactly what I wanted. I decided to a few ideas to create the perfect little man wallet. I love the way these came out and so do my boys.
What you need >>
- small pieces (remnants are great if you can find them) of coordinating duck cloth and cotton
- small piece
- 2″ piece Velcro
- thread
What you do >>
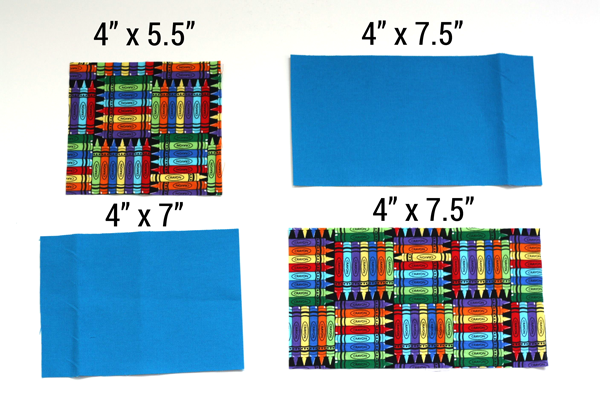
- Cut fabric as shown below. Cut interfacing 1/2″ smaller in length and width than cotton pieces.
- Iron interfacing on both pieces of cotton fabric.
- Fold both small pieces of fabric in half (wrong sides together), iron and then top stitch about 1/8 from folded edge.

- About 1/2″ above raw edge, pin 1 side of Velcro on folded piece of cotton fabric. Sew around twice to ensure Velcro is secure.
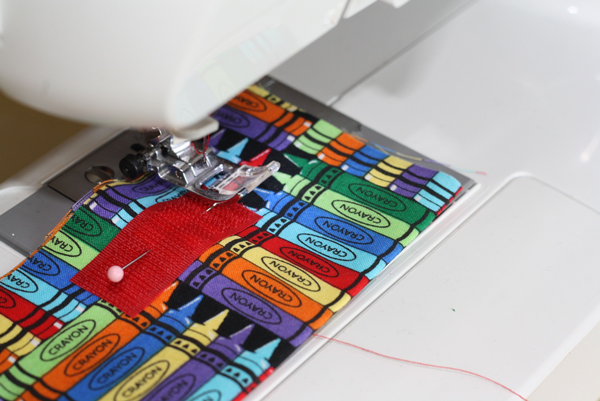
- On top edge of larger cotton fabric piece, pin the other side of the Velcro about 1/2″ from the edge. Sew as other side.
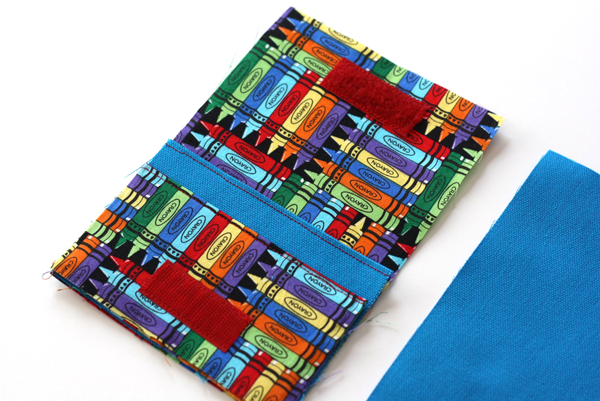
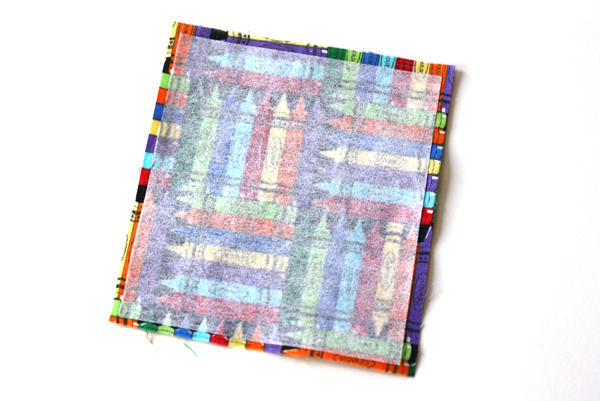
- Stack fabric as shown above then place larger piece of duck cloth, right side down on top. Pin edges. Sew around using 1/4″ seam allowance, leaving a 2″ opening for turning. Clip corners and trim excess fabric to about 1/8″ to reduce bulk.
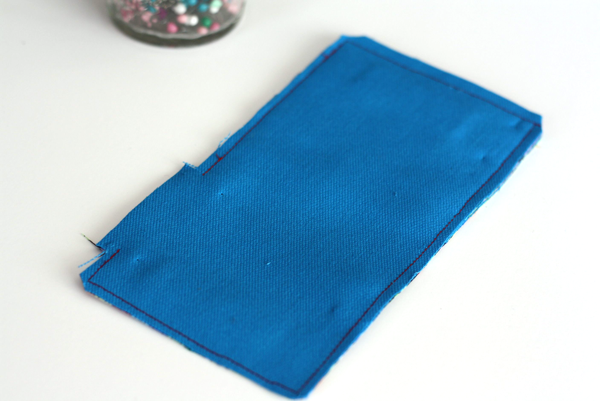
- Turn wallet right side out and use a crochet hook (or other tool) to gently push out corners. Iron both sides, turning in 2″ space you left open. Sew closed by top stitching the upper half of the wallet about 1/8″ from the outer edge.
- To make the monogram, trace letter of your choice on the non-waxy side of your freezer paper. Cut out negative space of the letter. Iron waxy side to outside top of wallet.
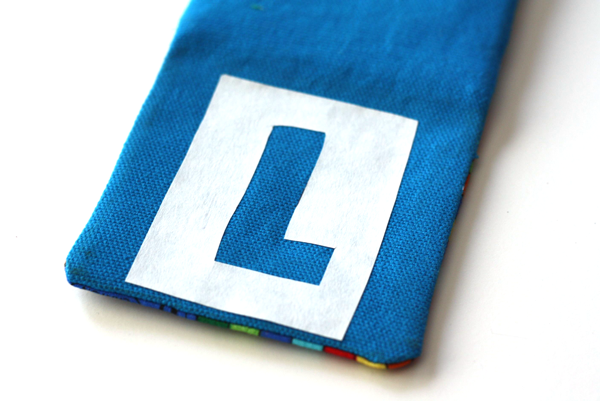
- Using a paint sponge or brush, paint fabric. To avoid leakage, use little amounts of paint and brush away from freezer paper seams. Allow to dry and then repeat.
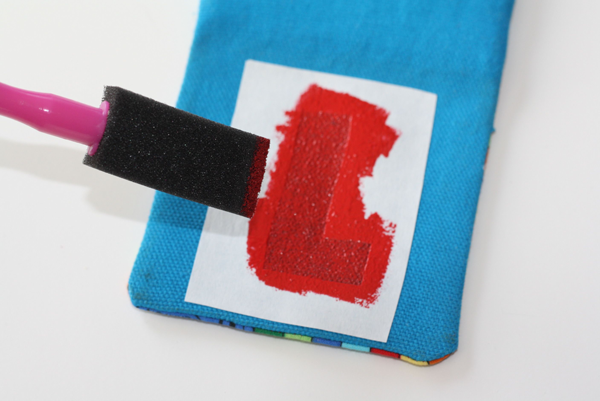
- Once paint is completely dry, peel off freezer paper.
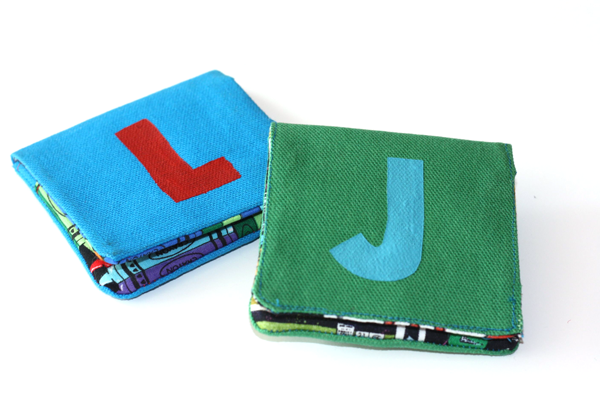
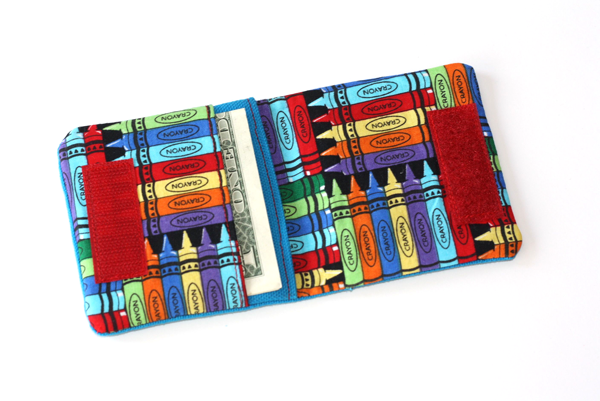
And that’s it! This really is an easy project – even easier (I imagine) if you don’t have two antsy little men trying to help. This wallet fits right in their tiny jeans pockets – bills in the front pocket, coins in the back. I didn’t put a closure on the change pocket but you could definitely add some sticky Velcro circles (and I might end up doing this).
Looking for more little man-related tutorials? Check out the ones I’ve got pinned to my A Boy’s Life board on Pinterest.
Linked up with:

Love this wallet and I love the Star Wars fabric. Great tutorial!
Melanie recently posted…Zoku Quick Pop Maker Giveaway
Thanks, Artz! I let the boys pick out their own fabric and that’s what we came away with.
Well done! I know that my kids would love to have wallets of their own, especially with custom fabric. Kids love to have places for all their treasures. Thanks for this!
Anna recently posted…Simplify Day 19 | My Necessary Weekend Cocoon